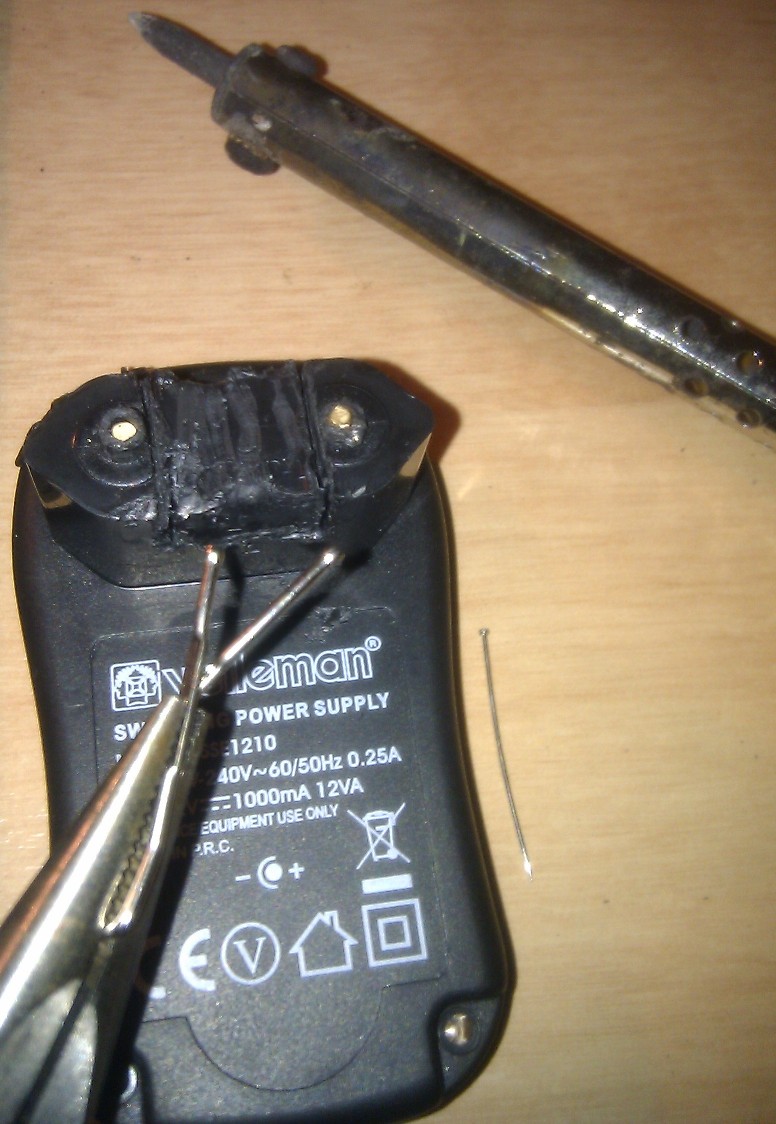
I saved some deodorant bottles as they have a nice shape and can be used in some projects.
I noticed that some light bulb screw bases I had fit perfectly in those bottles.

For the neck I used wire wrapped in a long screw for shape and strengthened it with more wire inside to have a flexible but strong neck.
 |  |
As a base I chose make it out of wood so I tried to saw some squares that would connect with a 45º angle cut, but the nails I have are to big for that cut and the wood block chipped.

Then I drilled the blocks to pass the lamp's neck and some screws that will be used to secure the base to the bed.
 |  |
After some polishing,

I nailed the pieces together and polished again:
 |  |
These are the switches I applied to make the wires from the base to the wall wart:

Then I secured the neck to the base using the neck wire and a nail to fixate it, and secured the electrical wire as well.
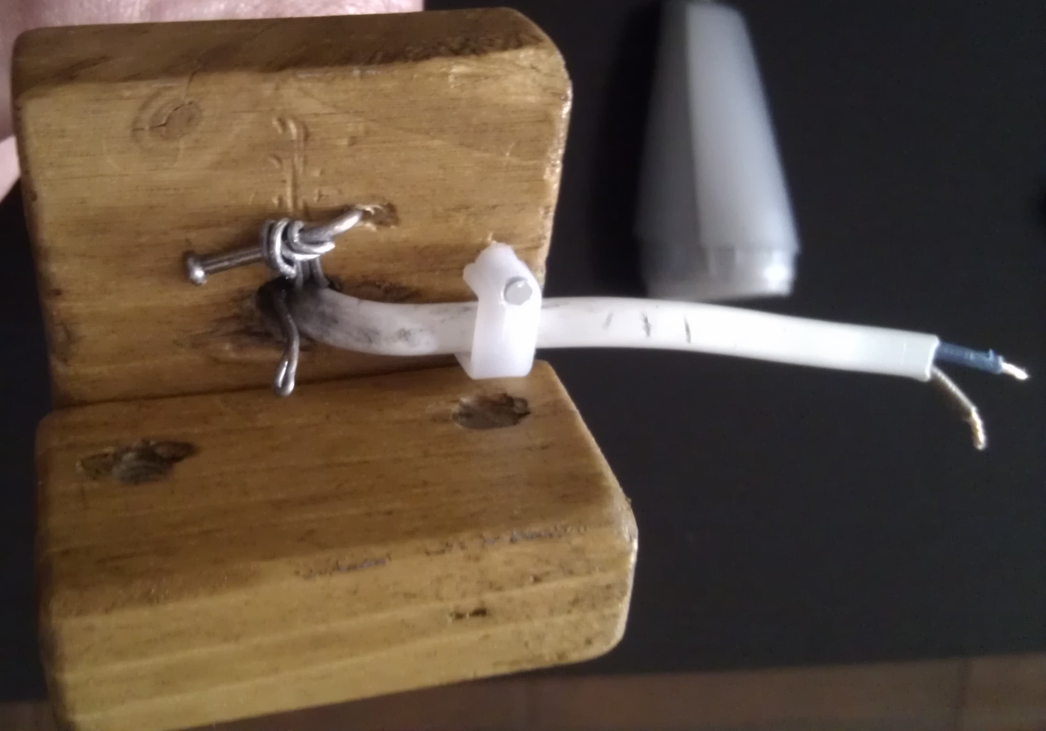
I connected the switch so that it covers the holes where the screws go into, making it more aesthetic.

And here are the screws applied to the base.

So were almost there.

To make it more appealing I covered the neck of the lamp in a painters tape.
It looks kind of pretty in this photo, doesn't it? Sadly, that's the only case...

So here's the end result.
 |  |
In the end, I don't think this is much appealing or practical as it is.
I made lots of mistakes on this that I was able to correct and others that I couldn't.
But the main idea is solid and when possible I will make a better version of this.
---------------------------------------------------------------------------------
Time to some improvements!
The wood panels were too small and would easily come out of the bed, so I switched to some bigger ones. But now they are too big to be plain.
I decided to try a little design:
 |  |
With a X-Acto I cut on the wood some leaf design I found on Google and with my old soldering iron burned the wood to create the pattern you see above.
But I didn't feel it was enough. The upper part was still ugly.
So I tried another artistic approach:
 |  |
I bought some disposable table spoons (used about 30 for testing and the final look) and glued them to a piece of toilet paper roll.

After two layers of glued spoons, I added other two layers of bent spoons and covered the hot glue at the base with some painters tape to hide the mess.

The final result is a beautiful (I think) flower:
 |  |
What do you think?